5 Easy DIY Halloween Decorations You Can Make Your Own
Make one thing you will actually want to bring out again next October.
These five DIY Halloween decorations use simple shapes and everyday craft materials. Each project creates a different effect: movement, softness, pattern, glow or a welcoming detail at the door. Choose by the materials you already have, then make a small test piece before committing to a whole set.
Choose your afternoon project
- Paper bats — the lightest supplies and easiest repeatable shape.
- Fabric ghosts — a soft, freestanding decoration.
- Checkerboard pumpkins — for people who enjoy slow, careful painting.
- LED jar lanterns — a warm glow after dark.
- A ribbon-and-twig wreath — a reusable base with one seasonal flourish.
Folded paper bats
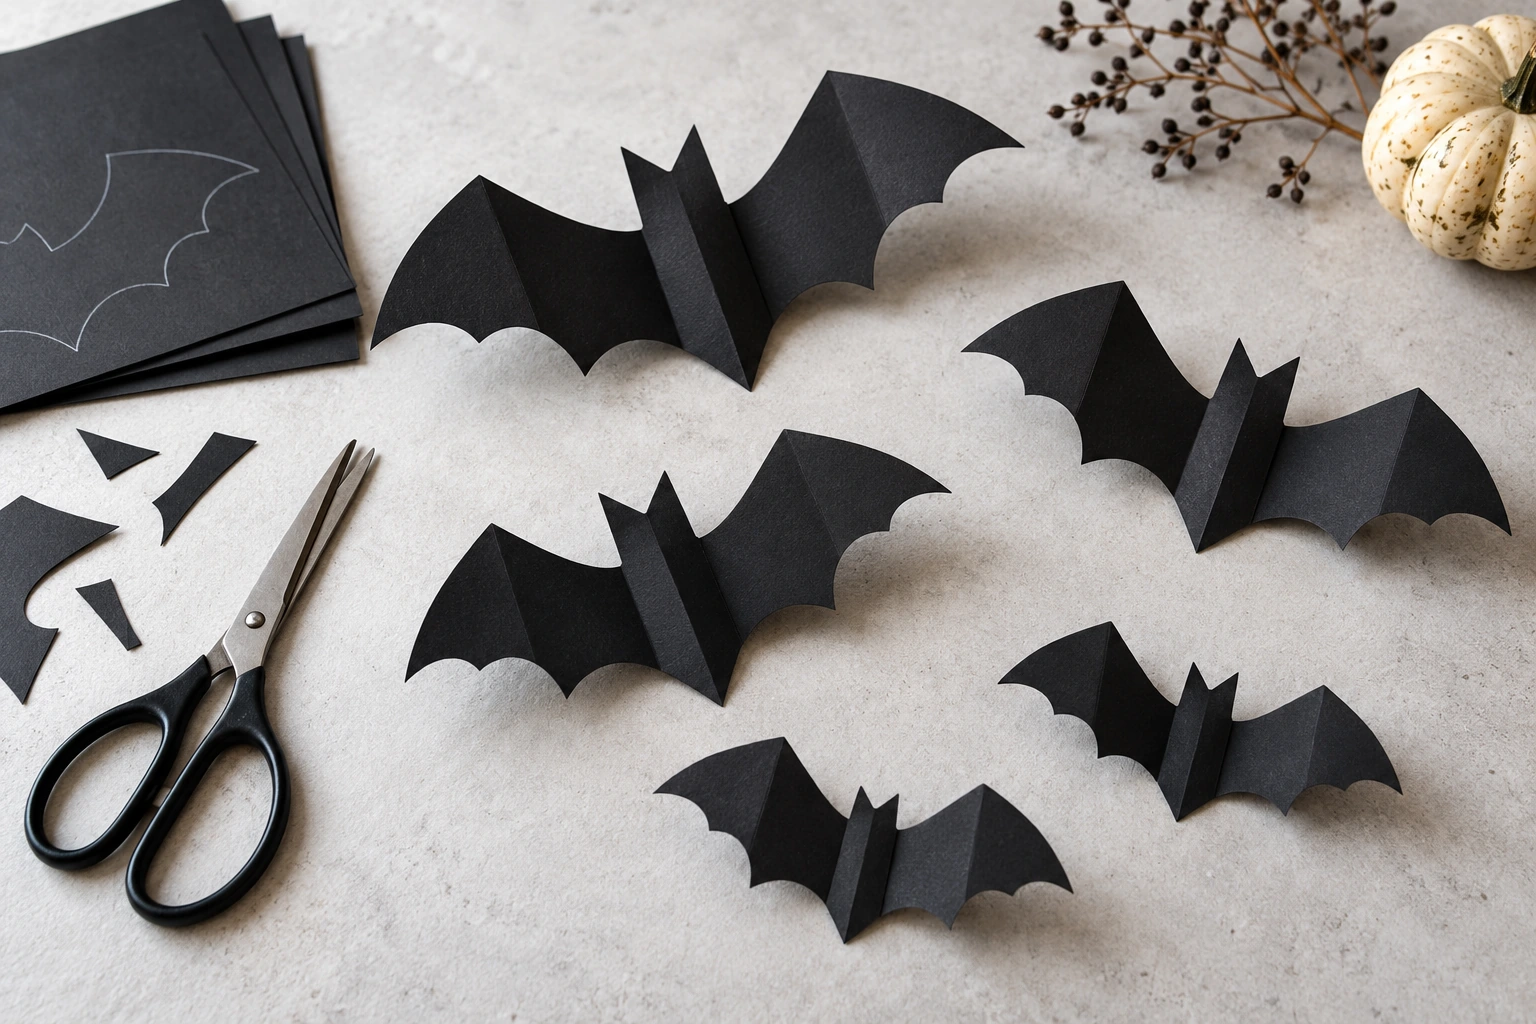
Gather: Black paper or thin cardstock, pencil, scissors, and surface-appropriate removable adhesive or thread.
- Fold a small rectangle of paper in half. Draw half a bat along the fold: a little ear at the top, a broad wing reaching outward, then two or three curves returning to the body.
- Cut around the outline while keeping the center fold intact, then open the shape. Make a second attempt if the wings feel too thin; this first bat is your template.
- Trace several bats in two or three sizes. Give each wing a gentle fold near the body, then arrange the bats on the table before attaching or hanging them.
The styling detail: Build one loose diagonal flight path instead of a perfectly spaced row. A cluster reads better when a couple of bats sit slightly apart from the rest.
Test removable adhesive first, follow removal instructions and keep paper away from heaters and any flame. Hang from branches instead if your wall finish is delicate.
Small fabric ghosts that stand on their own
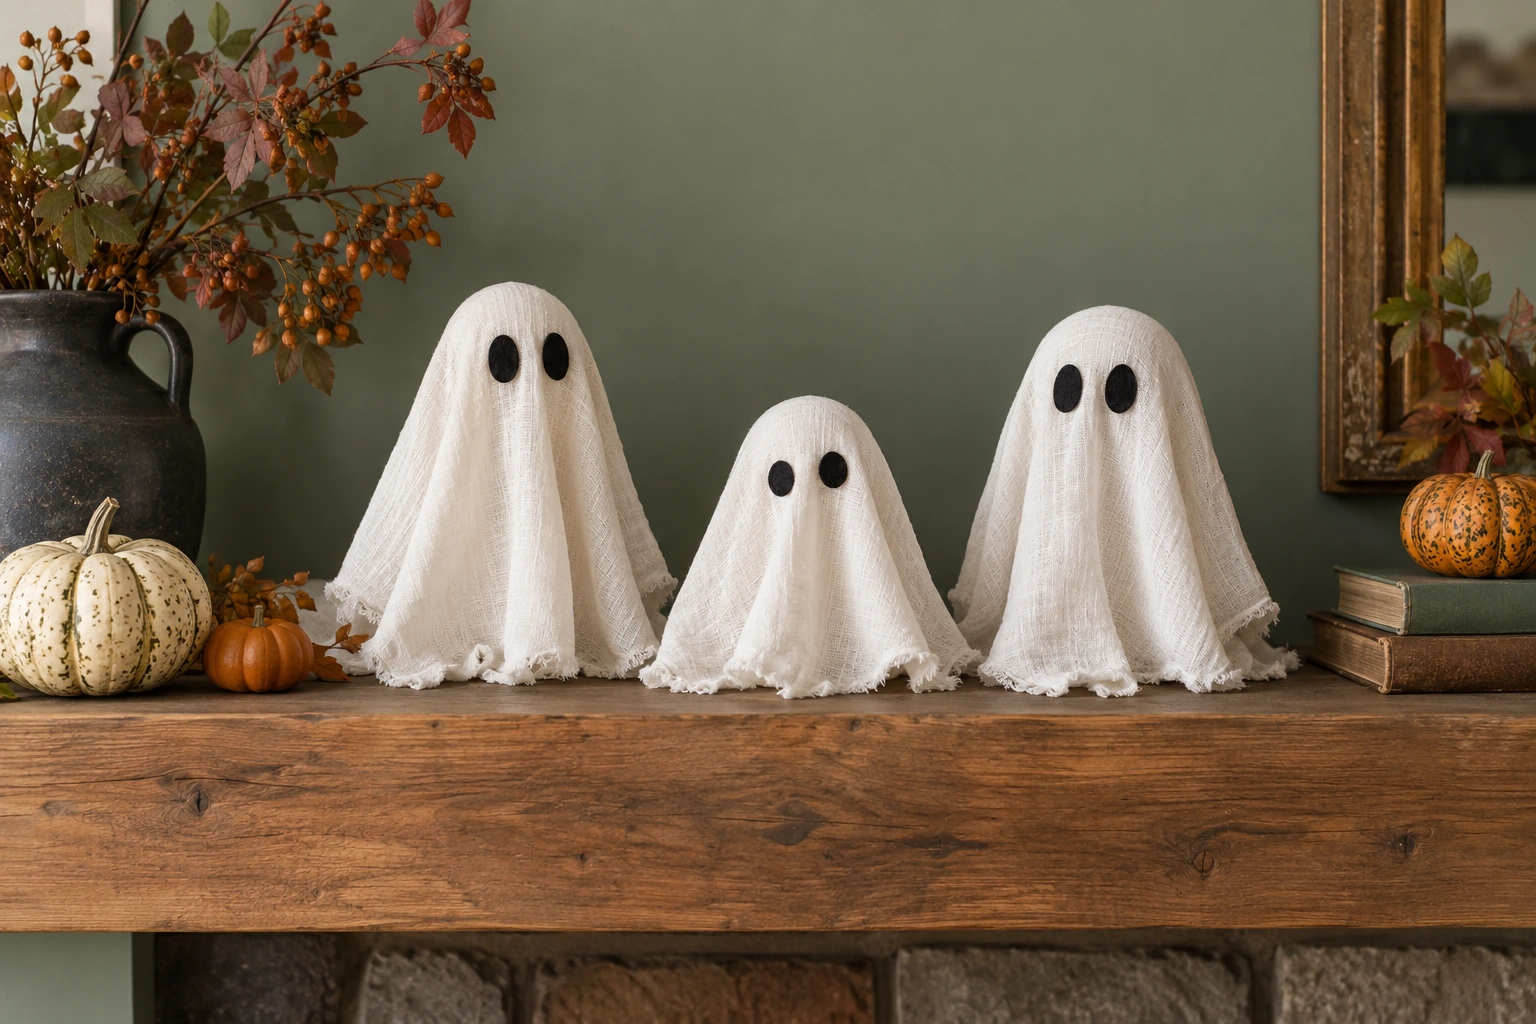
Gather: Scraps of lightweight white fabric, short stable rounded supports, black felt, scissors and fabric glue.
- Choose a short support with a broad stable base and a rounded top. An upside-down small bowl makes a squat ghost; a securely supported rounded craft form gives you a taller one. Avoid narrow, top-heavy shapes.
- Drape a square of fabric over the form and trim the edges so they rest on the surface. Keep enough fabric for soft folds rather than a tight cover.
- Cut two small felt eyes and attach them with fabric glue. Let the glue dry according to its label before arranging the ghosts together.
The styling detail: Vary the heights slightly and keep the eyes small. The uneven fabric edges are part of their charm; you do not need to make them identical.
Keep these away from candles. Small felt pieces and unsecured supports should be kept out of reach of young children and pets.
Black-and-cream checkerboard pumpkins
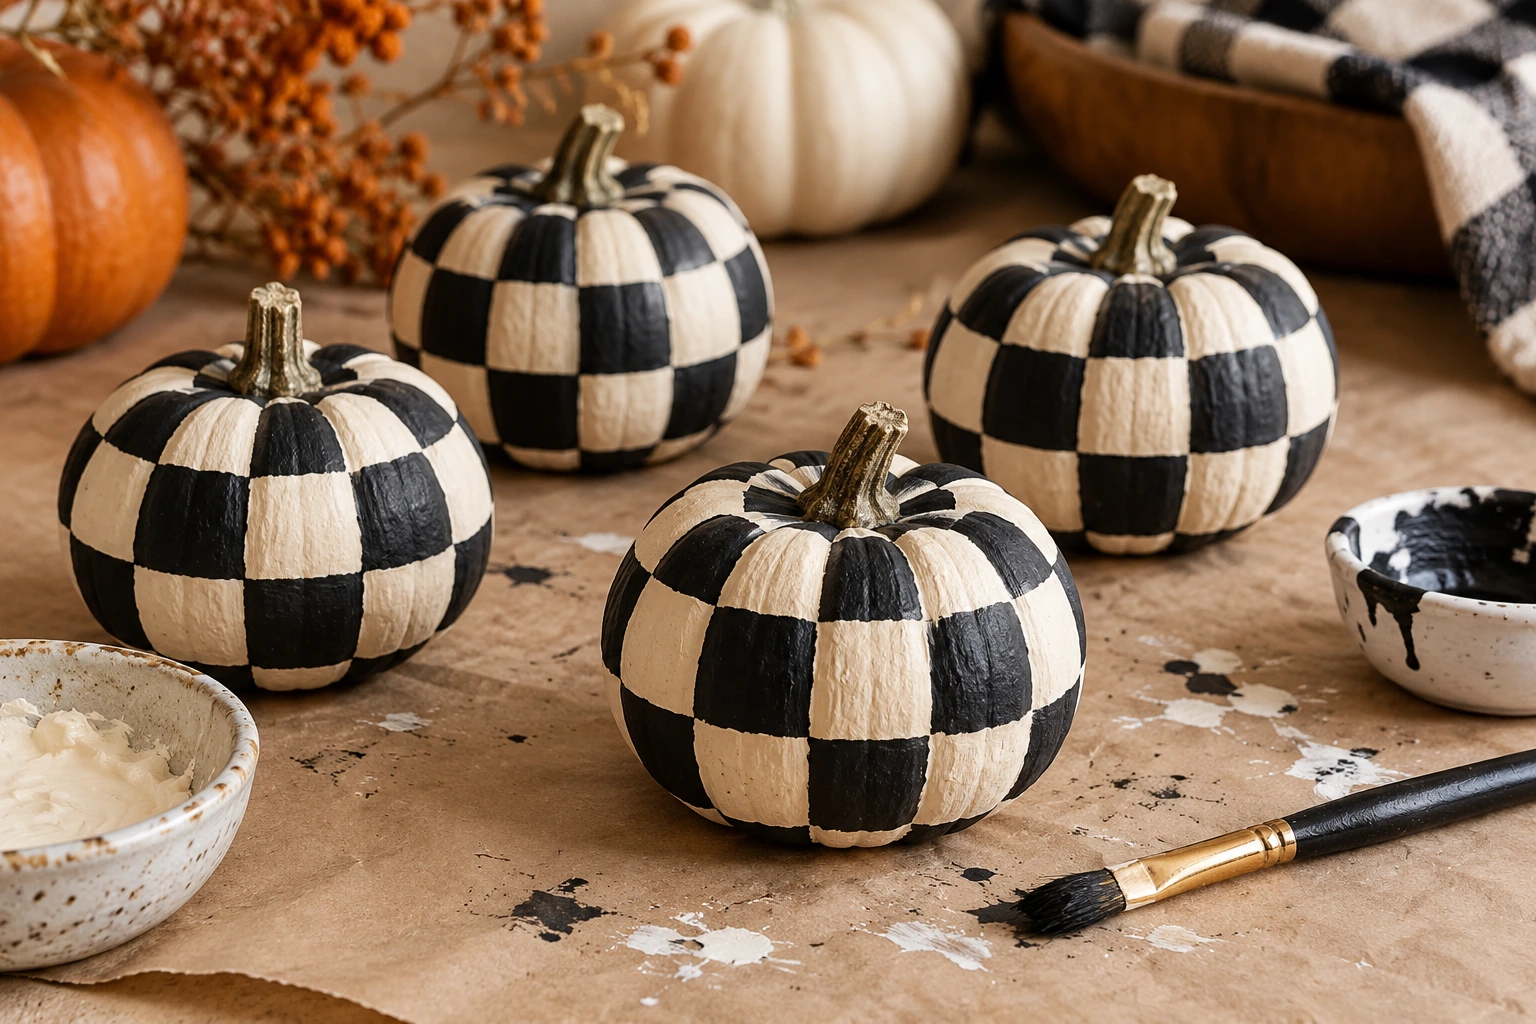
Gather: Faux craft pumpkins, paint suitable for their surface, a pencil, a small brush and a protected work surface.
- Clean and dry the pumpkin. Check whether its material needs a primer, then apply a cream base coat and let it dry fully.
- Lightly mark vertical bands following the ribs. Divide those bands into short sections and stagger the divisions where needed; checks will naturally narrow near the stem.
- Paint alternating sections black with a small brush. Let the first coat dry before touching up edges. Follow the paint label for drying and any optional finish.
The styling detail: Pair one patterned pumpkin with two plain ones. Keeping the pattern to a single focal piece makes the whole group easier to style.
A slightly irregular checkerboard looks handmade in a good way. Do not keep adding paint to a wet edge in pursuit of perfect squares.
Moon-and-star LED jar lanterns
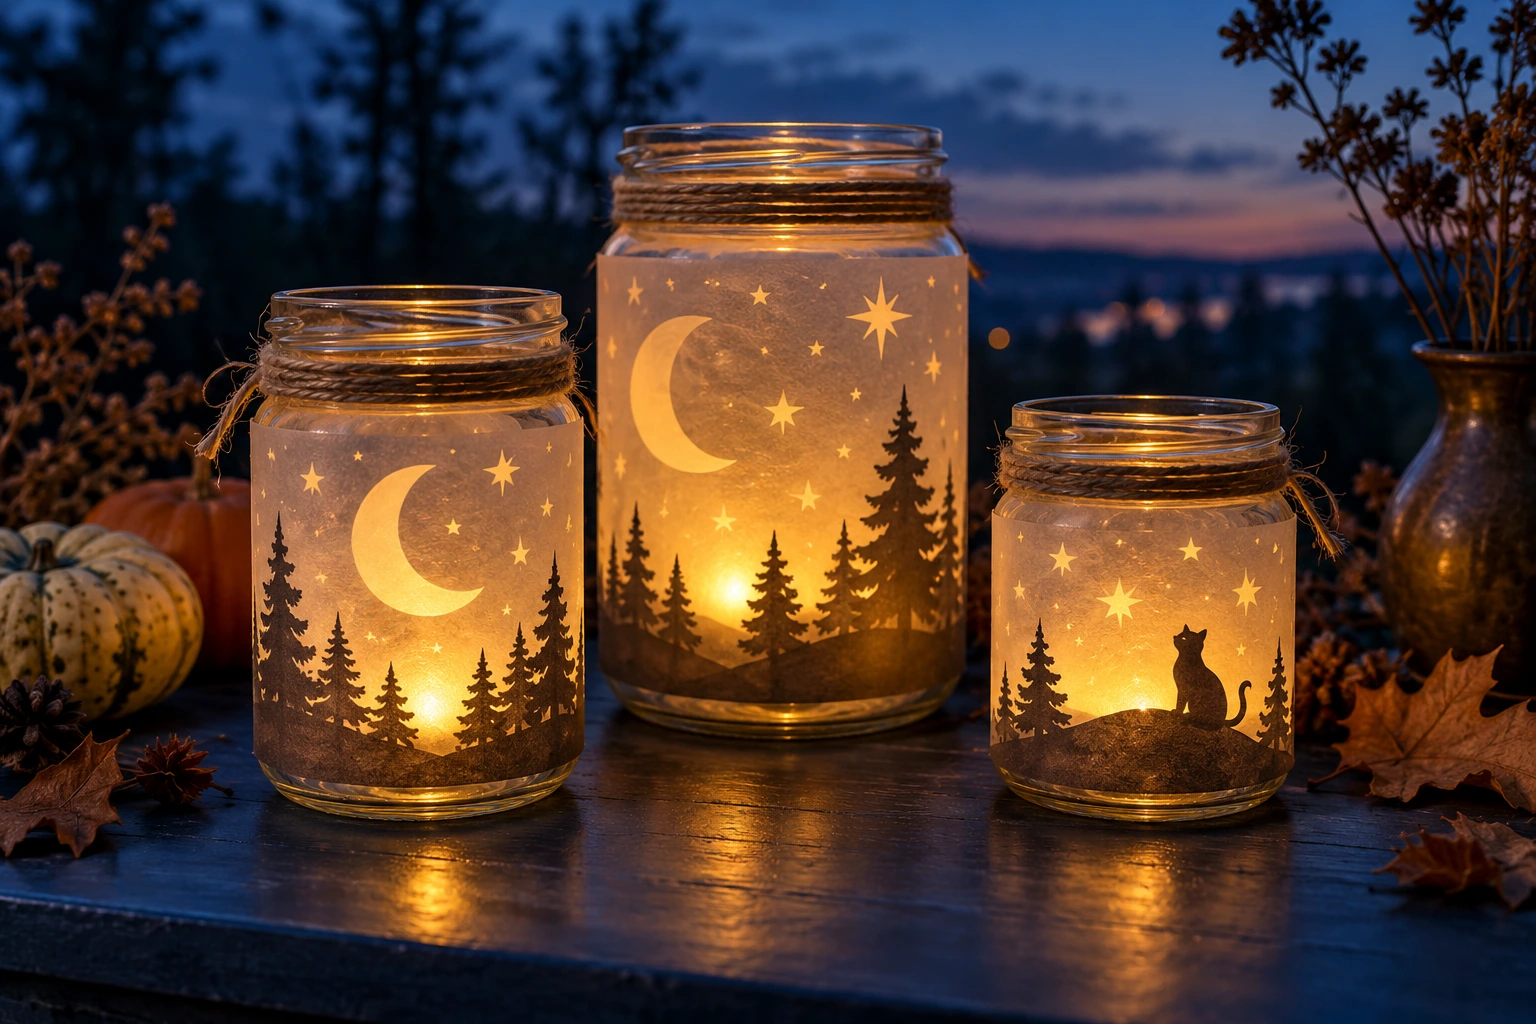
Gather: Clean dry glass jars, translucent vellum or suitable craft paper, black paper, scissors, tape and battery-powered LED tealights.
- Cut a strip of translucent paper that wraps around the outside of the jar with a small overlap. Keep it below the rim.
- Cut simple black moons and stars, then attach them to the sleeve. Leave open space between the shapes so light can pass through. For the more detailed woodland effect shown here, use a paper stencil or add a simple tree-line silhouette; the moon-and-star version is an easier starting point.
- Fasten the sleeve to itself around the outside of the jar and place an LED tealight inside. Check the battery light instructions and keep its controls accessible.
The styling detail: Test one lantern in a dim room before making more. If the design disappears, use fewer, larger silhouettes instead of a dense scatter of tiny stars.
Use battery LEDs only, never tea candles or other flames. Keep batteries secured and out of reach of children; do not use damaged lights or jars.
A twig wreath with a velvet bow
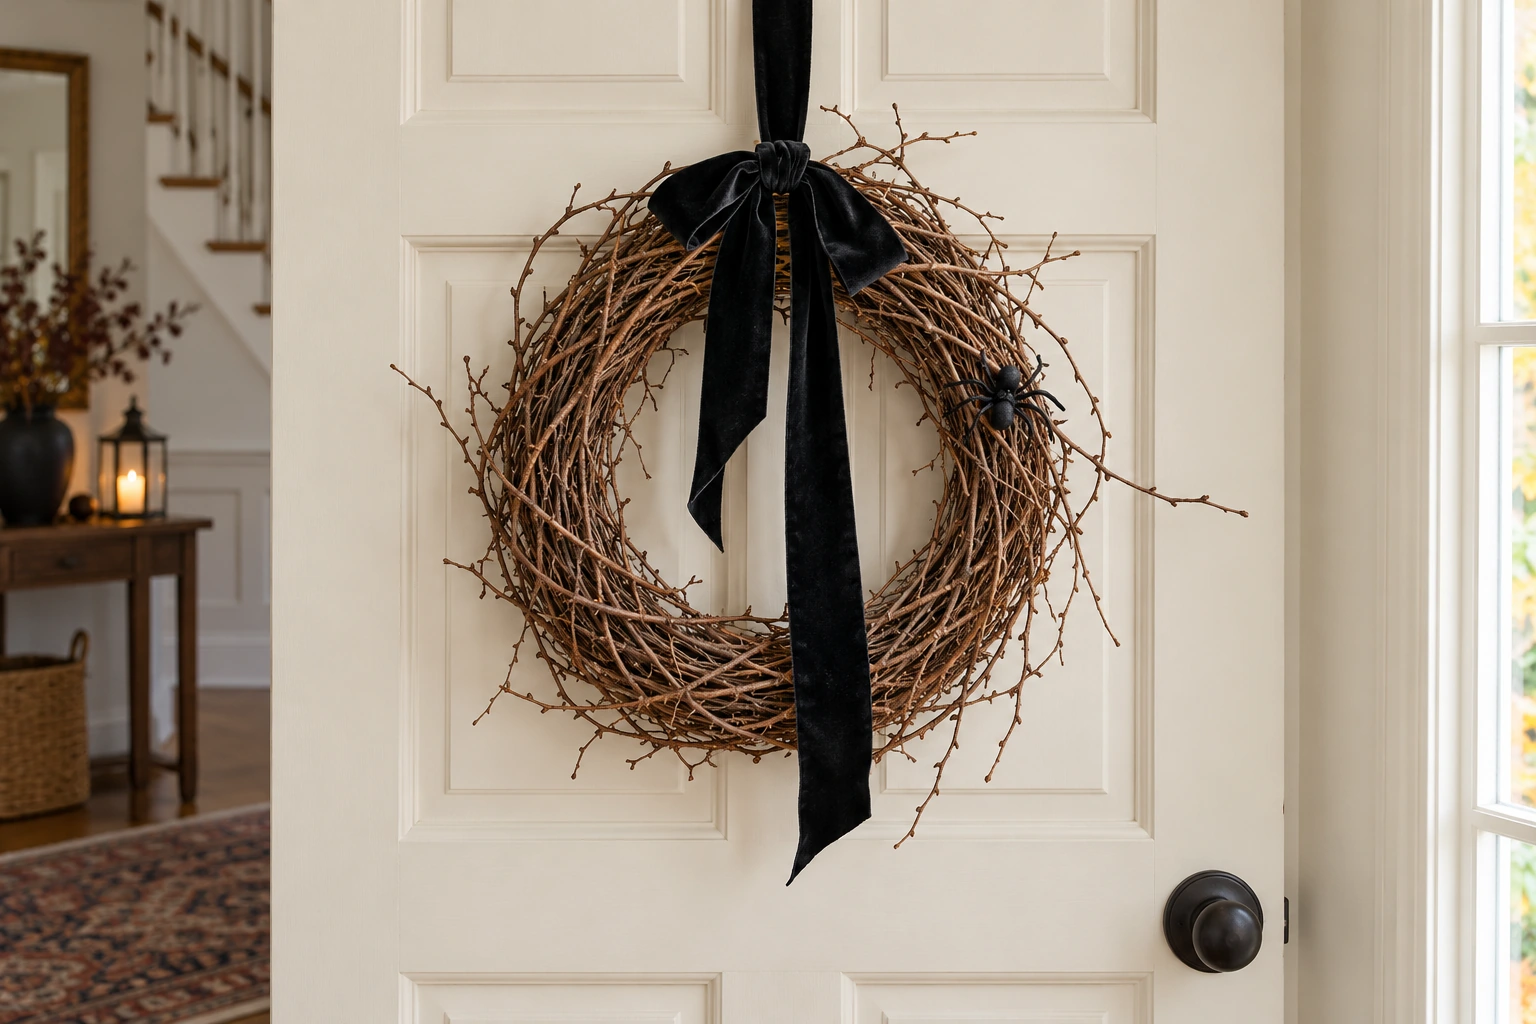
Gather: A ready-made twig wreath base, black ribbon, one optional lightweight faux spider and a suitable wreath hanger.
- Check the wreath for loose or sharp projecting twigs, then decide which side looks best facing outward.
- Tie a generous, relaxed bow slightly off-center. Trim the tails to different lengths and keep the knot visible instead of hiding it beneath extra ornaments.
- Attach the optional spider securely and hang the wreath with hardware suitable for the door and weight. Open and close the door to check clearance.
The styling detail: Try it without the spider first. The contrast between rough twigs and soft black ribbon may be enough for the look you want.
Keep the wreath clear of locks, hinges and peepholes. Protect the door finish and do not use a hanger that prevents the door from closing properly.
Pack them so next October is easier
Store paper bats flat with the wings relaxed. Remove batteries from lights before long-term storage, following the manufacturer’s guidance. Let painted pieces dry and cure fully before wrapping, and keep fabric decorations clean and dry. A small labeled box is more useful than a bag in which every delicate detail gets crushed.
Pick one finished project and give it a clear setting. Our small-space decorating guide shows where a few pieces can make the biggest difference; the table decor guide helps you build a dinner setting around a restrained palette.