Bedazzle Your Everyday Essentials: A Beginner’s DIY Guide
A plain notebook on your desk. A little box beside the bed. The frame you have been meaning to put a photo in. Sometimes the nicest craft afternoon starts with something you already own.
Bedazzling can be as simple as adding a handful of gem stickers to a familiar object. You do not have to cover every surface or build a perfect pattern. A few well-placed shapes can make an ordinary piece feel like yours. This beginner’s guide uses peel-and-stick gems, so you can start without a bottle of glue.
Set up a small, easy place to work
Clear a tray or a corner of the table, then gather your object, gem sheets, a clean dry cloth and a scrap of paper for trying layouts. Pick a hard, smooth surface where possible. Dust, heavy texture and flexible fabric can make stickers harder to attach securely.
Wipe the surface and let it dry completely. If you need a cleaner, use one that the object’s manufacturer allows and remove any residue before decorating. Test one sticker somewhere discreet first. Even a removable-looking sticker can lift a delicate finish or leave a mark.
Keep the backing sheets nearby and take out only the gems you need. It is surprisingly easy to lose a tiny clear stone among tea cups and paper scraps. These are small craft pieces, so put them away from children and pets when you finish.
Begin with a journal: make a little constellation
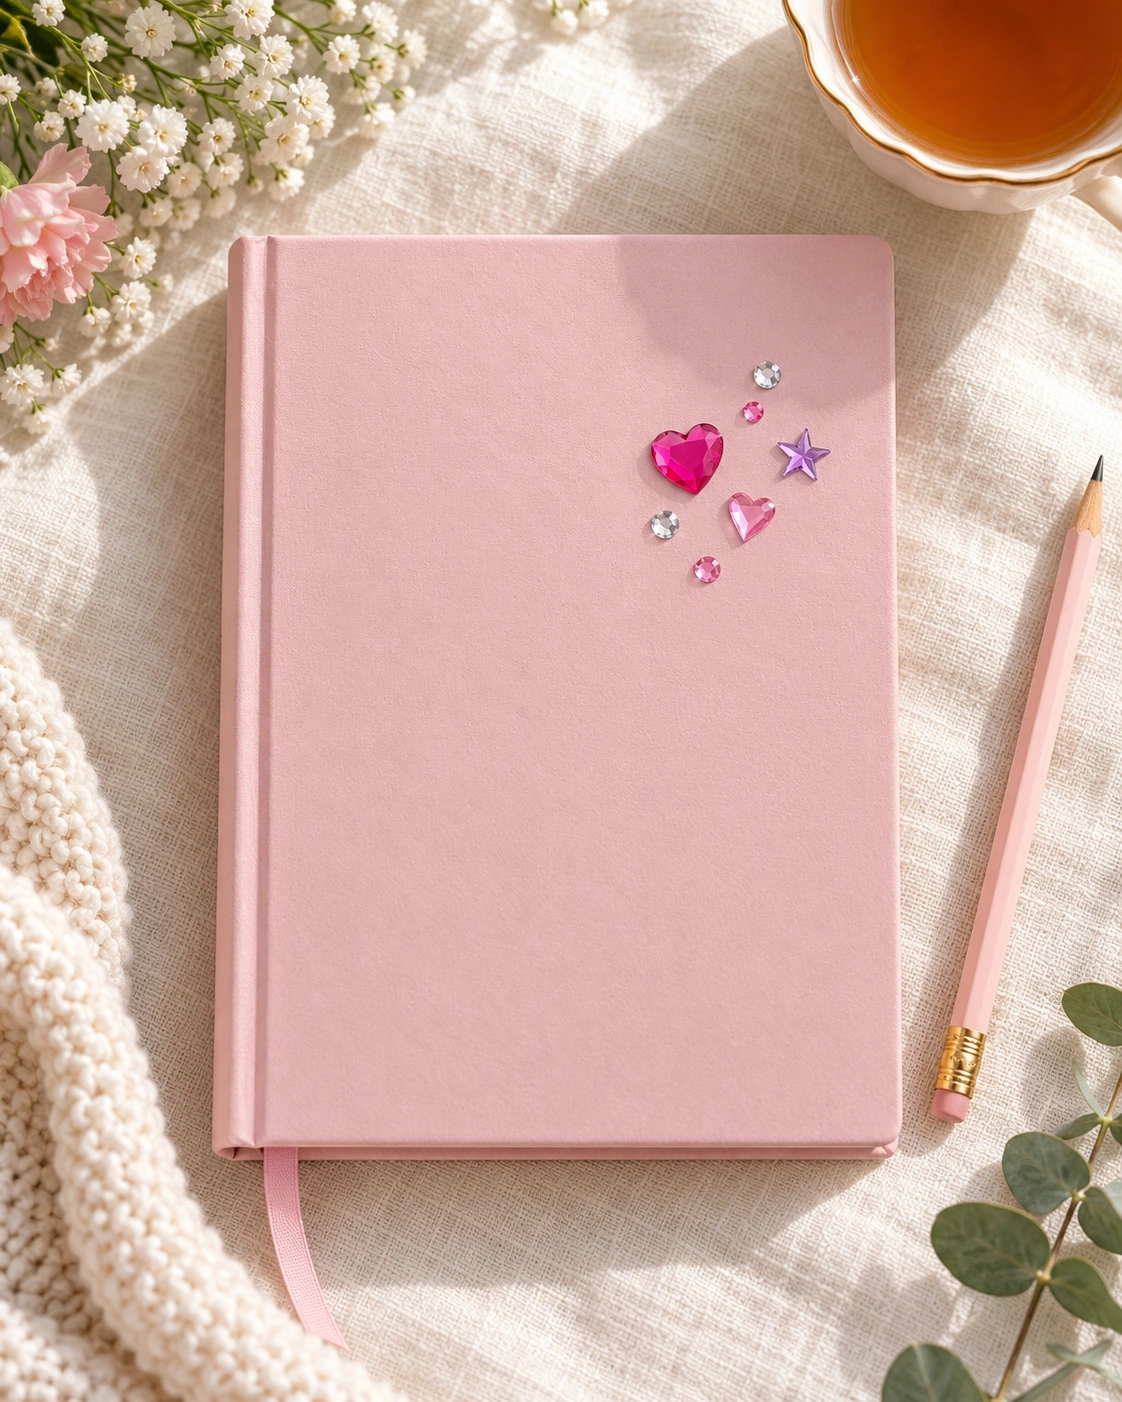
A hardback journal is a satisfying first project because you have a flat surface and plenty of room to change your mind before sticking anything down. Choose two colors and one clear accent. For example, pink hearts, lavender stars and a few small round gems can feel playful without turning the whole cover into a rainbow.
Try an uneven cluster in one corner rather than a rigid all-over grid. Arrange the shapes on a sheet of paper the size of your cover first. Move them around until the blank space feels as deliberate as the decorated area, then transfer the arrangement one piece at a time.
Leave the spine and cover edges clear so the notebook opens comfortably. If you carry it in a tight bag, keep raised decorations modest; an elaborate cover may be happier on a desk than squeezed between books.
The little pause that saves a project
Before you press the gems firmly down, hold the object at arm’s length. Can you still see its shape? Is the decoration balanced from that distance? If something feels busy, remove a few pieces from the planned layout. You can always use them on another project.
Next, a picture frame: decorate the corners
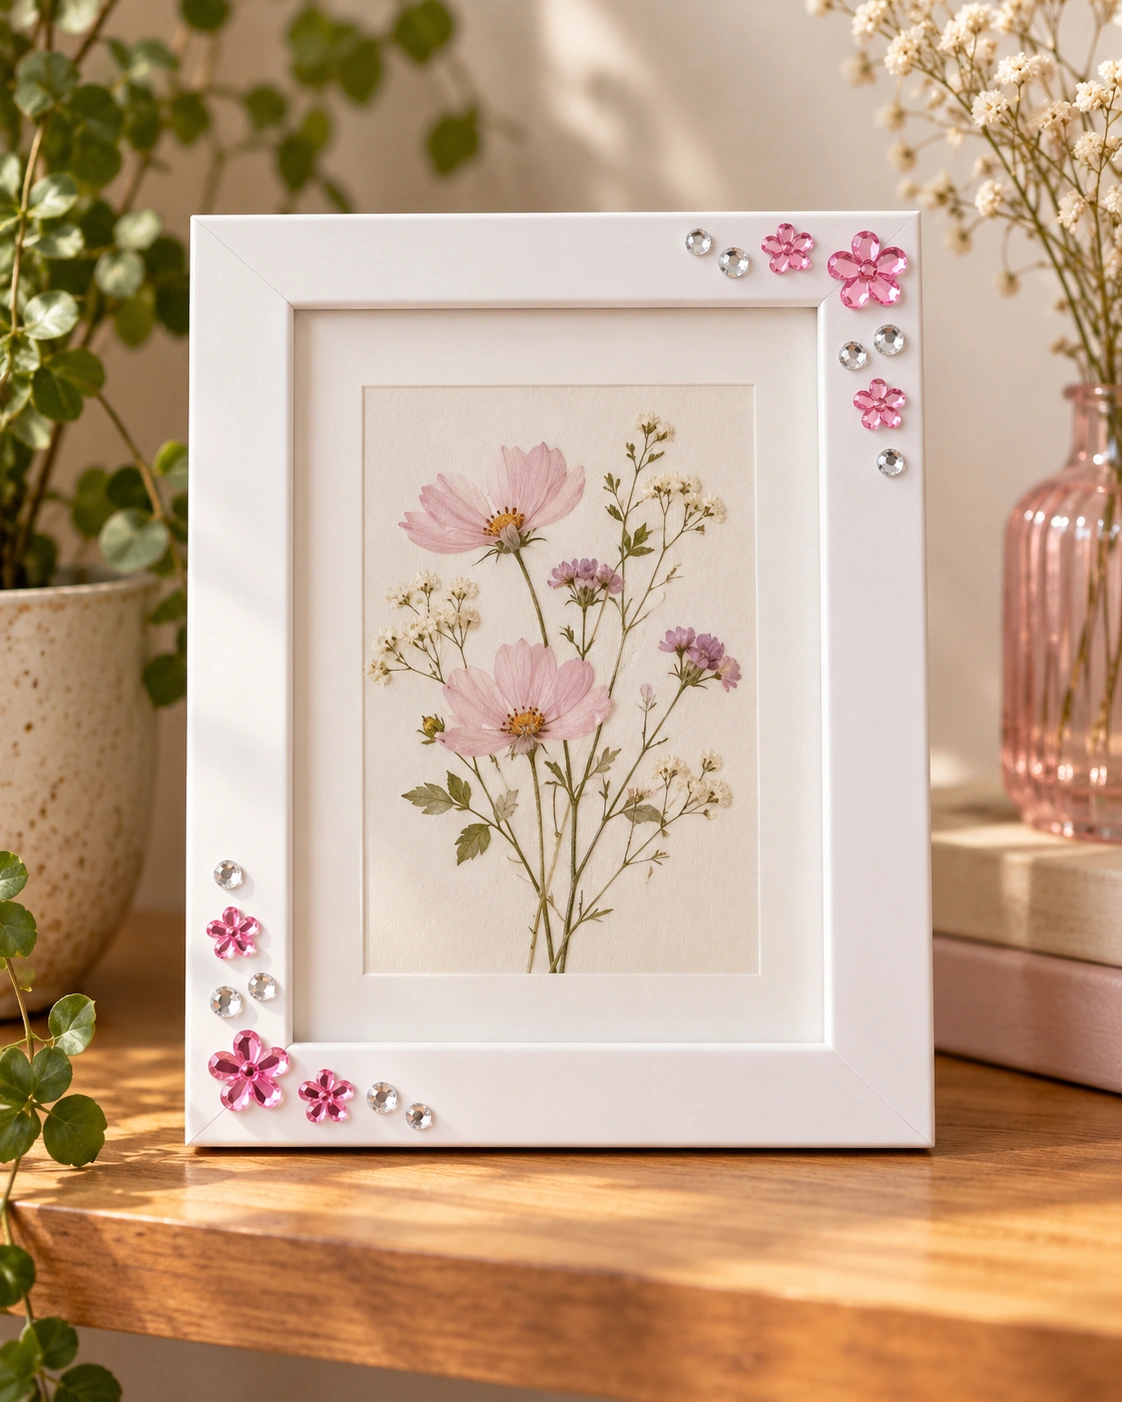
A plain frame does not need a crystal border on all four sides. Try a small cluster at the lower left and a lighter echo at the upper right. The diagonal arrangement gives the frame a little movement while leaving the photo or print as the main event.
Start with the larger shape, then add one or two small round gems beside it. Leave the glass and picture opening clear. Check that stickers do not interfere with the stand, hanging hardware or the tabs that hold the back in place.
If the frame has a carved or rough surface, save it for another day and choose a smoother one. A pretty pattern will not compensate for stickers that are barely touching the material beneath them. Finish by viewing it upright, where it will actually sit, before pressing everything into place.
Then, a bedside box: a border and one small heart
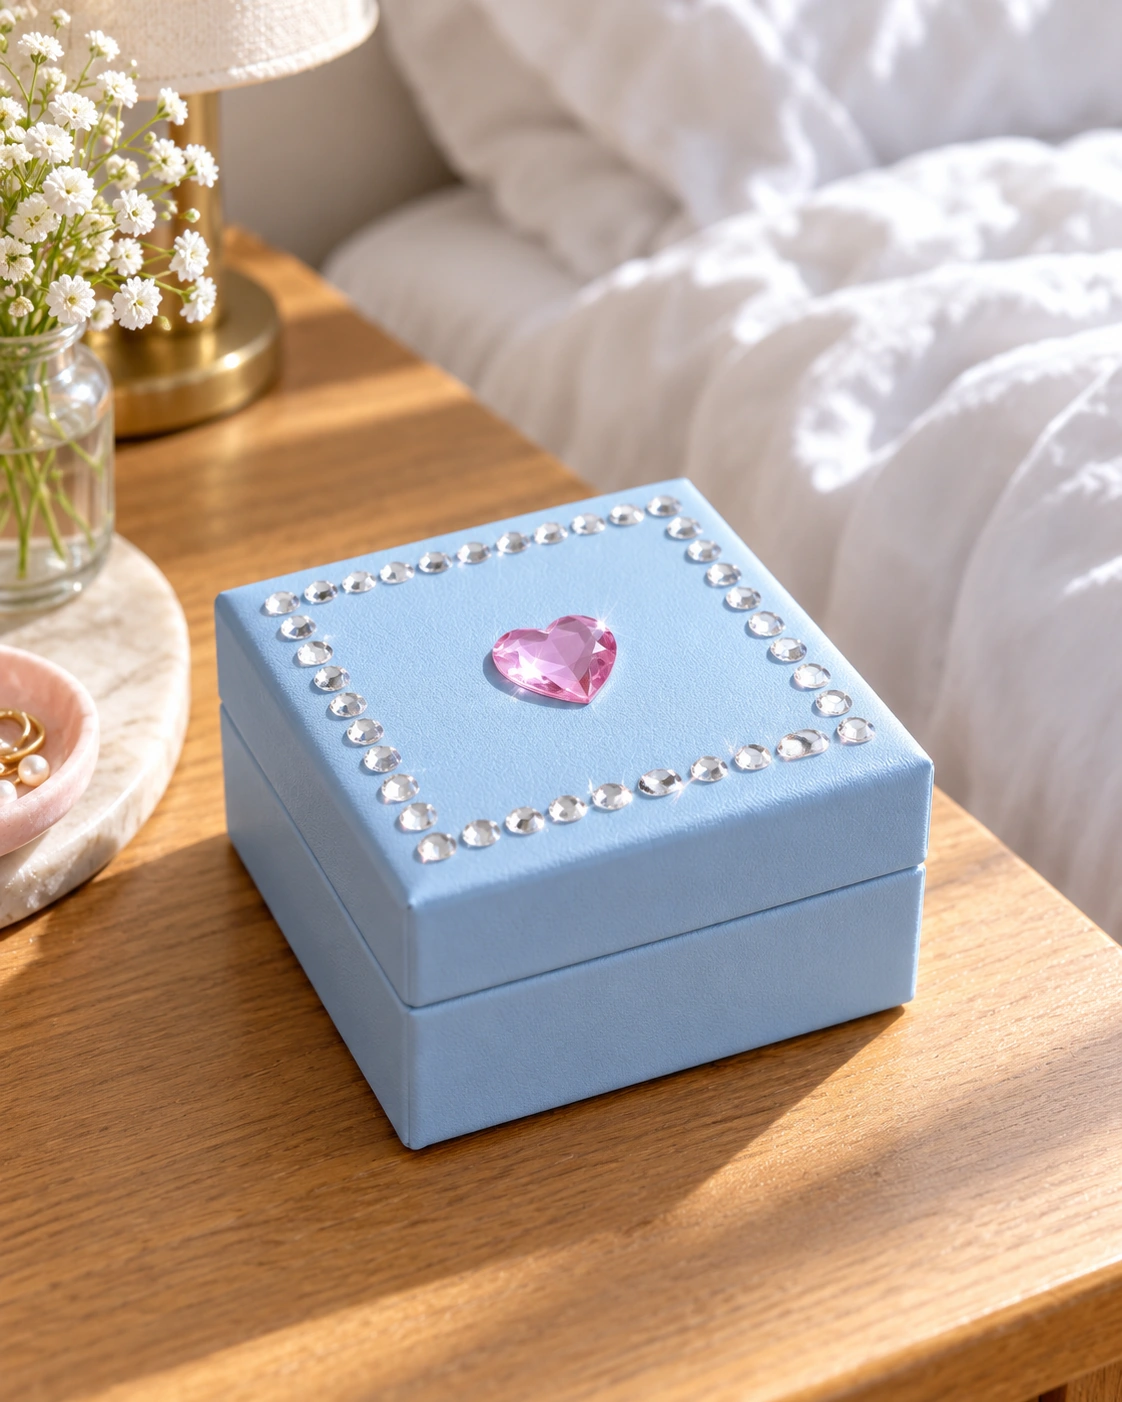
A little rigid box is a lovely home for hair ties, spare buttons or tiny keepsakes. For a calm design, follow the lid with a fine line of clear round gems and add one colored heart in the center. Keep the hinge and the meeting edges of the lid untouched.
Lay out the corners first, then work along each side. If the spacing does not divide perfectly, adjust the gaps rather than crowding the final few stickers. Aim for a border that feels even to the eye; you do not need a ruler-perfect result to enjoy it.
Keep the decoration on the outside. A craft gem can loosen over time, so the box is not a good place for unwrapped food, and these stickers should not go on surfaces intended to touch food or drink. Choose a dry indoor spot rather than a steamy bathroom shelf.
Which gems fit this kind of afternoon?
The MYDBUYSOME set linked below contains 2,774 self-adhesive acrylic gems across assorted sheets, including different colors, shapes and pearl-style stickers. The variety suits small decorative projects; you can choose a restrained handful rather than using every color at once.
They are peel-and-stick craft embellishments, so extra glue is not needed for this approach. Adhesion and removal will still depend on the surface. Treat these as dry indoor decorations rather than promising that a finished piece will survive washing or frequent handling.
A little note: shopping through these links may earn LORIMI a small commission, at no extra cost to you. As an Amazon Associate I earn from qualifying purchases.
Have a look at the self-adhesive craft gem set
Finish before you feel the need to add more
Give the finished piece a gentle check for loose corners and put the unused sheets back on their backing. If a sticker starts lifting later, remove it rather than letting it disappear into a carpet or drawer. Follow the object’s care instructions and wipe around the embellishments gently.
One journal or one little frame is enough for an afternoon. Put it where you will see it, let the light catch the gems, and enjoy having made a familiar thing a little more personal. If you would rather take that sparkle out with you, try our keychain and bag-accessory ideas next.